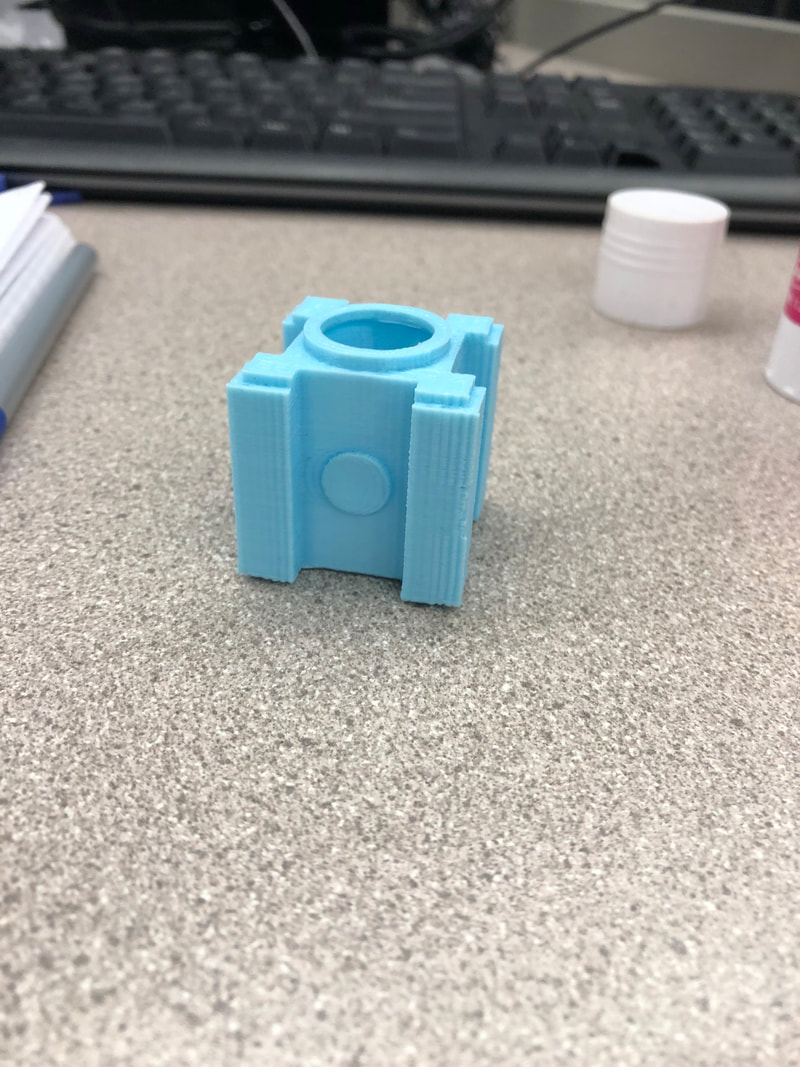
For this project we had the choice of either creating a phone holder, a headphone holder, a toothbrush holder or an object that sorted out coins. I chose the headphone holder. We would first be making these designs in inventor and then using the 3D printer to print them. During this project I learned more in depth ways of using inventor, and I also got a good refresher on the 3D printer.
Step by Step:
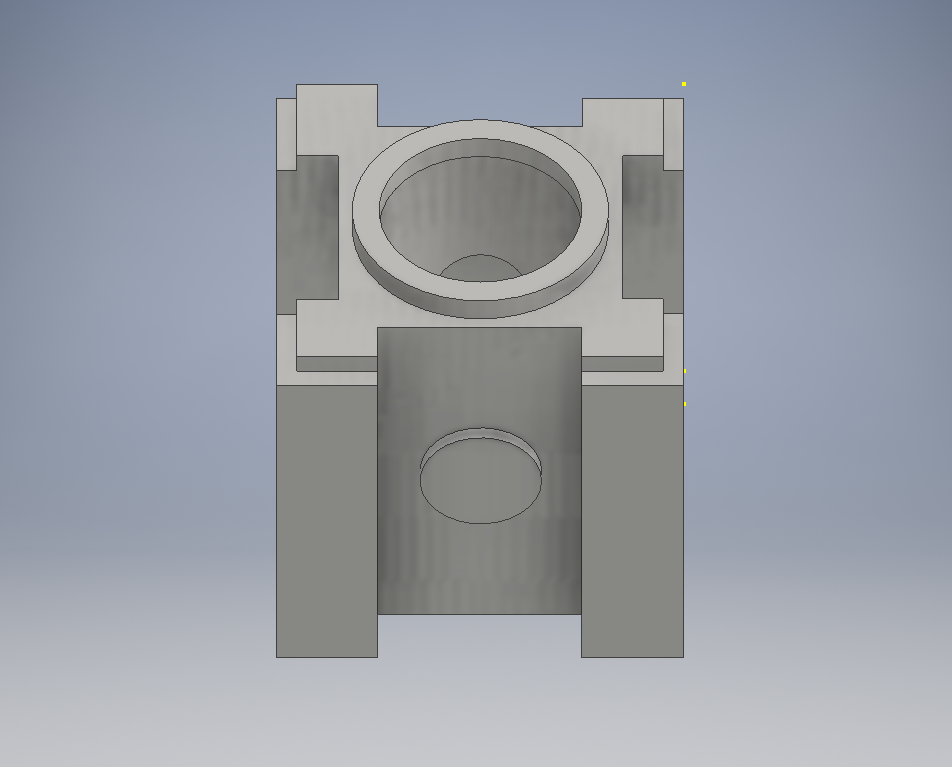
First thing I did was create the object in inventor, I would use many different tools to create a rounder shape and also create the indents. Here is a picture of the design.
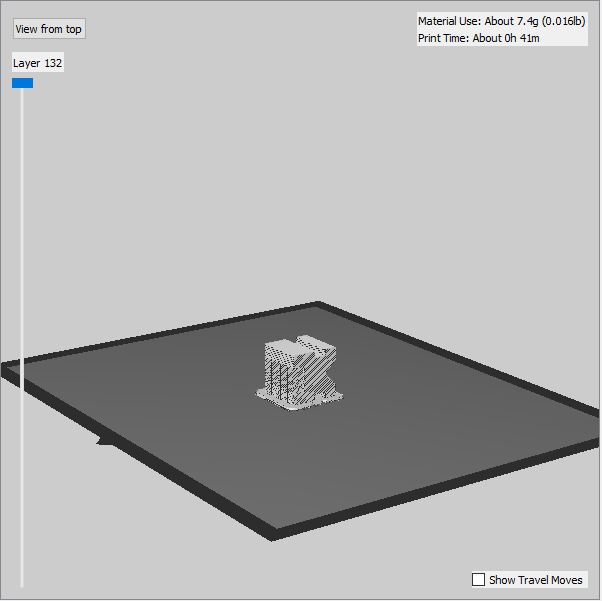
Then I chose the correct size in maker-bot (the software that we use for the 3D printer). I had to check the preview in maker-bot to make sure everything builds up correct.
Then I went down to the 3D printer with the flash drive that contained the file, I put it into the printer and then started printing my object. It took around 1 hour and 30 min to completely print out.