The first project we worked on was our notebook covers, the design that I went with is one that I made in graphic design, I updated it so that it would look better on my notebook cover and so that the laser can properly cut it out. I learned many different things in this rotation, I learned how to cut thing out on the laser and I also learned where the hole puncher is and how it works.
Step by Step:
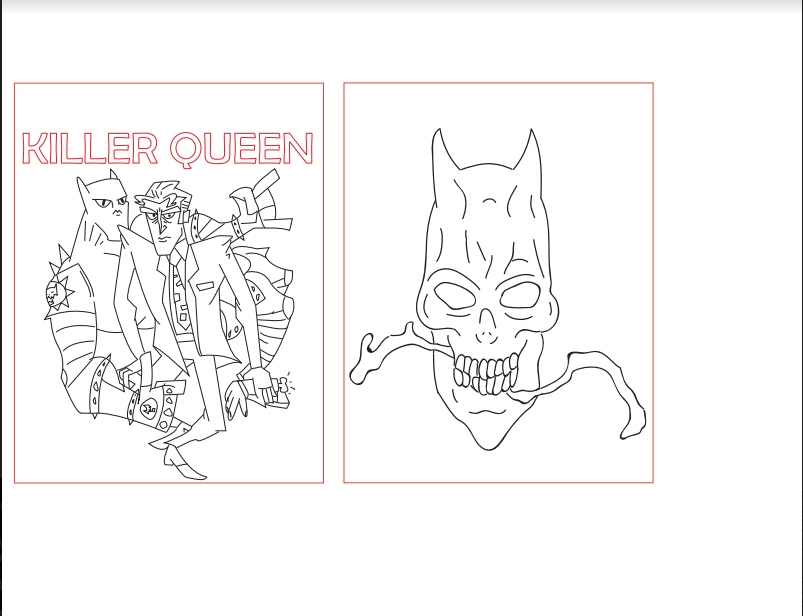
First I created my design on an illustrator file, then I added red lines around the design in a square shape, this is to let the laser know where it needs to cut and also know where it needs to engrave. Here is a picture of what that document looked like.
Then I was ready to get on the laser, cutting out the notebook is very easy and works just like how we engraved our key chain. This involves picking the correct material and then lining up the laser. Then when ready press play and watch the laser engrave and cut out the design. Here is a picture of the printing software we use that we will use to cut out the notebook.

Then this is the final step, we need to hole punch and also add pages to out notebook. First we took the cover and backing of the notebook and hole punched them. Then we took 5 pieces of paper and cut them into pieces of 4 and hole punched them. Finally we string everything with a binder spiral. Here is a picture of the finished product.

