Final Clock Project
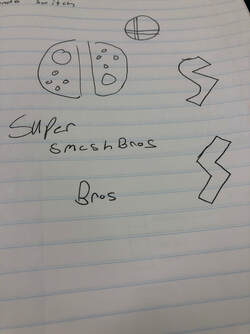
For our final project we have to create a clock using at least 3 of the machines down at the lab. We are provided with the working mechanics of the clock and the arms of it if we want. I decided that I am going to create the base of the clock using inventor and the 3D printer, numbers using illustrator and the vinyl cutter, and a symbol at the top using illustrator and the laser cutter. With this project I learned some new ways of using all the machines in the lab in collaboration with each other to create a very cool project like the clock. For inspiration I used one of my favorite games logo and also the first letter of the game title. Here are some of my sketches.
Step by Step
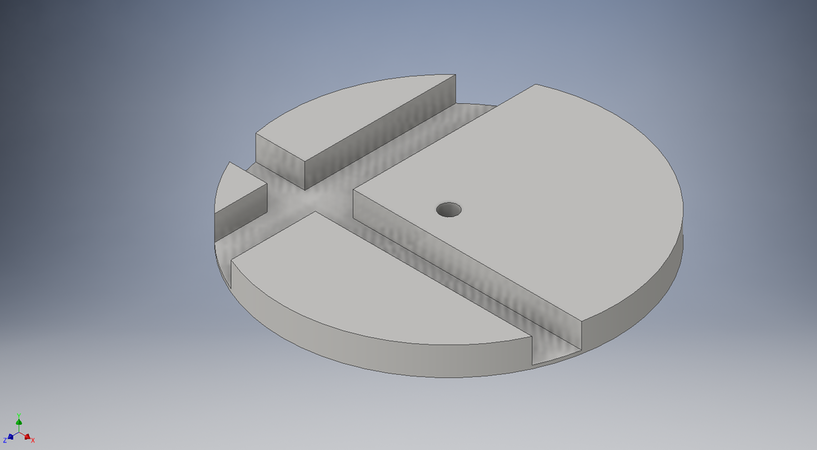
First I started on creating the base of my clock, I used Inventor to create a 3D object to that I would then use the 3D printer to print out. Here is a picture of the clock in Inventor.
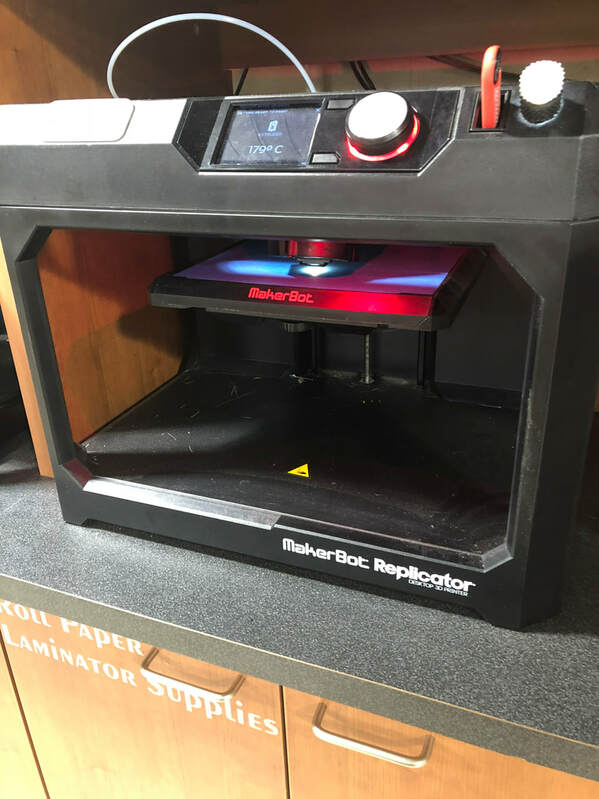
I then printed out the object using the 3D printer, here is a picture of the clock printing.
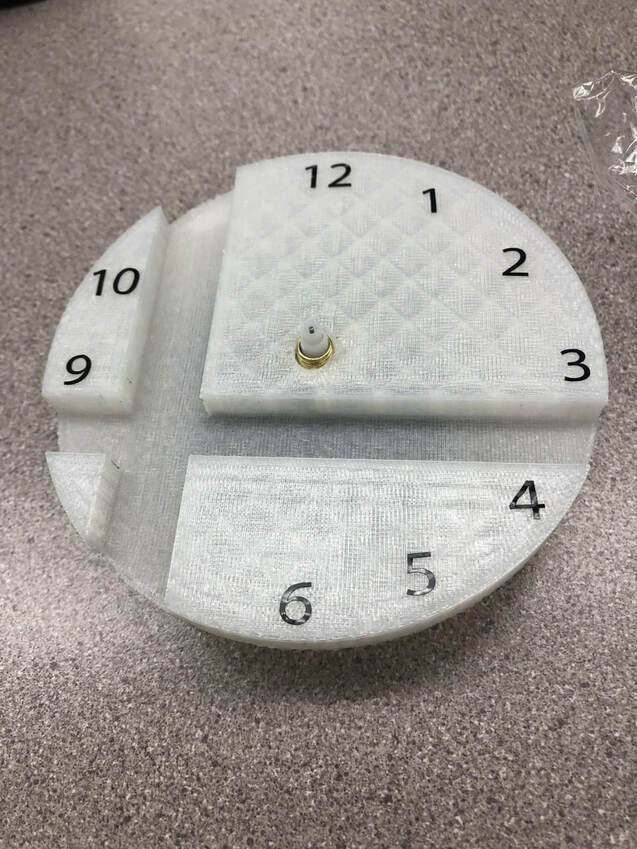
Here is a picture of the completed clock base.
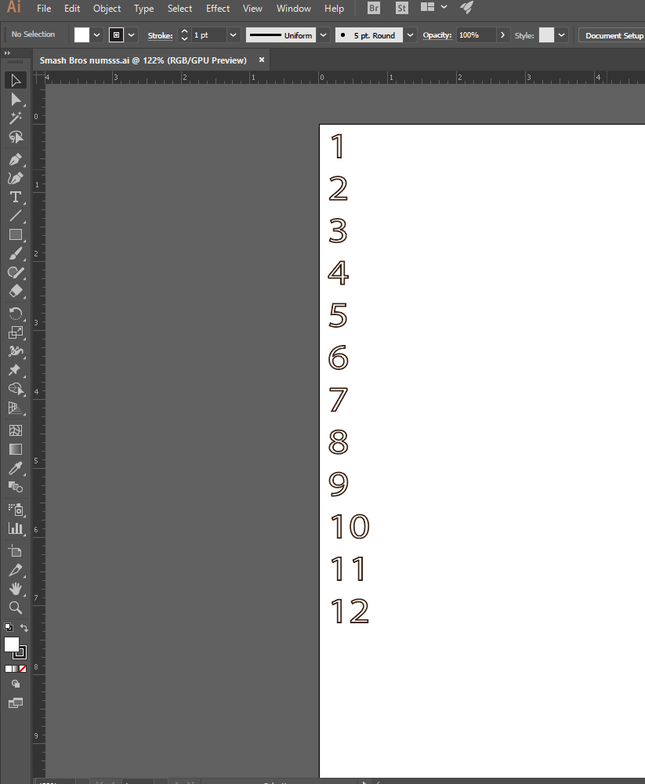
I then used Illustrator to create the numbers that would go on my clock. Here is a picture of the numbers in illustrator.
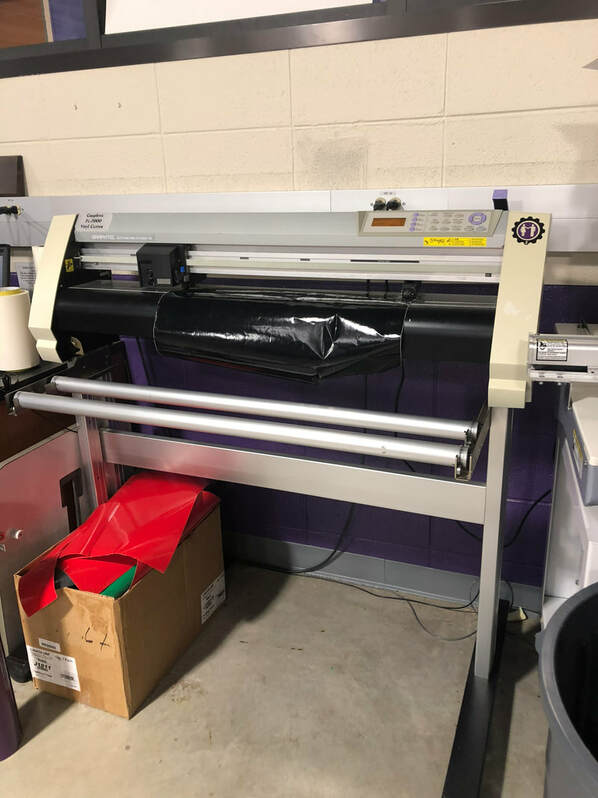
Then I went down into the lab and used the vinyl cutter to cut out my numbers. Here is a picture of it cutting my numbers out.
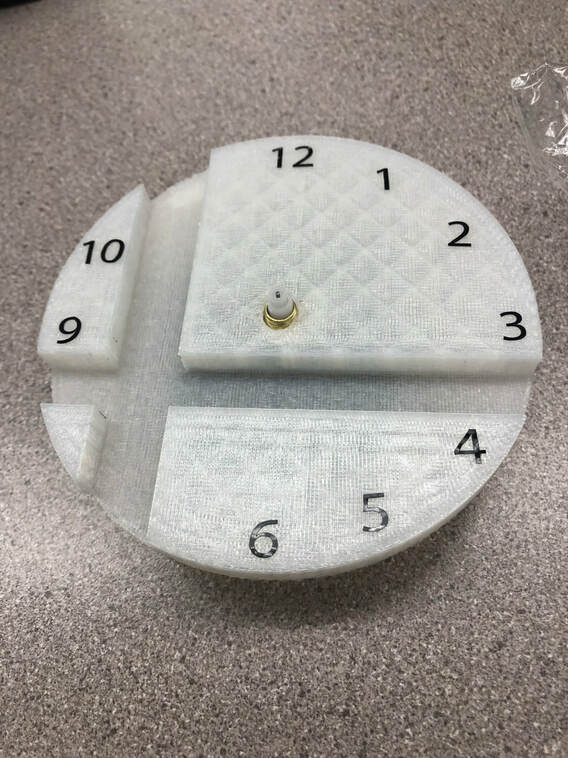
Here is a picture of my completed numbers.
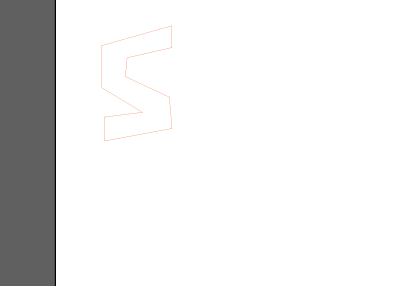
Now that I am done with both my clock base and the numbers, I now wanted to create a little symbol to go at the top of my clock, here is the picture of the symbol in illustrator.
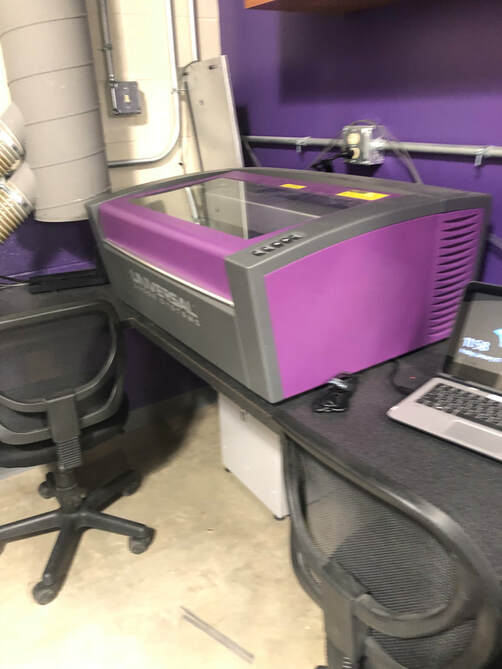
Now I went down to the lab and used the laser to create my symbol, here is a picture of the laser cutting out my symbol.
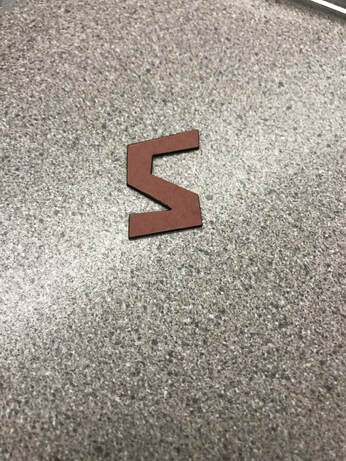
Here is a picture of the completed symbol on my clock.
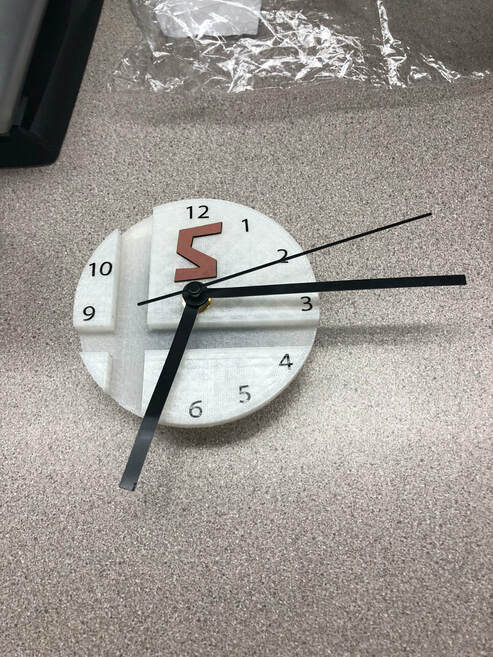
Now that I have all my parts, I can now put them all together. Here is a picture of my completed clock.