My second big project was to use the vinyl cutter that we have in the lab to create a vinyl that has three colors. This means that I will need to print out three different layers or one for each color. The design I decided to go with is a logo from one of my favorite brands flex tape. During this rotation I I learned how to load/use the vinyl cutter and I also learned how to apply the vinyl to wax paper and then onto a different surface.
Step by step
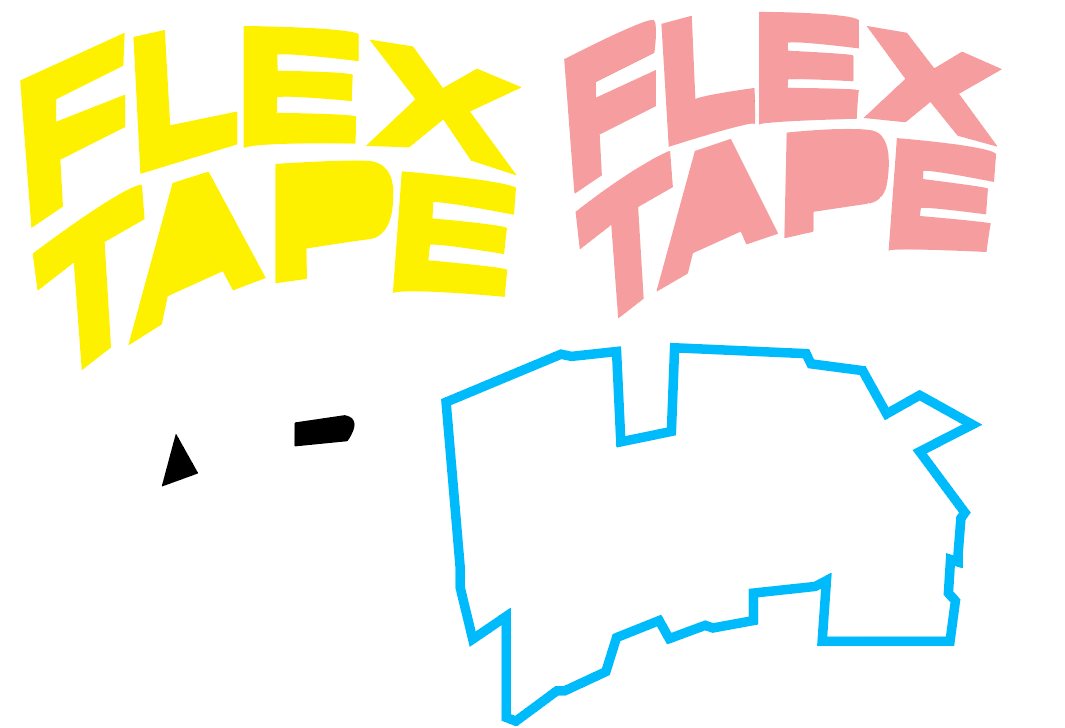
The first thing I had to do is create my design, I sorted them out by three different designs to act as my three layers. Here is a picture of my illustrator file with the design.
Then after I had my design done and sorted, I was ready to go down to the machine. I started by finding a roll of vinyl that was the correct color and then loaded it into the machine. I then had to get my design apart and ready to be cut separate. Here is a picture of that screen when I am about to cut.
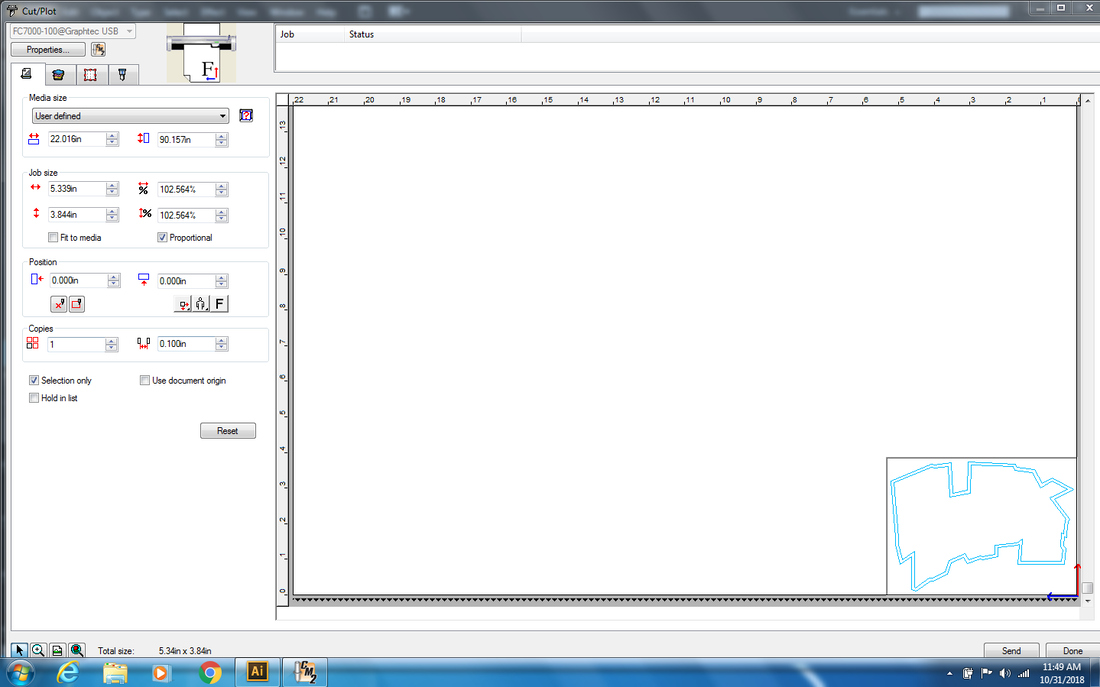
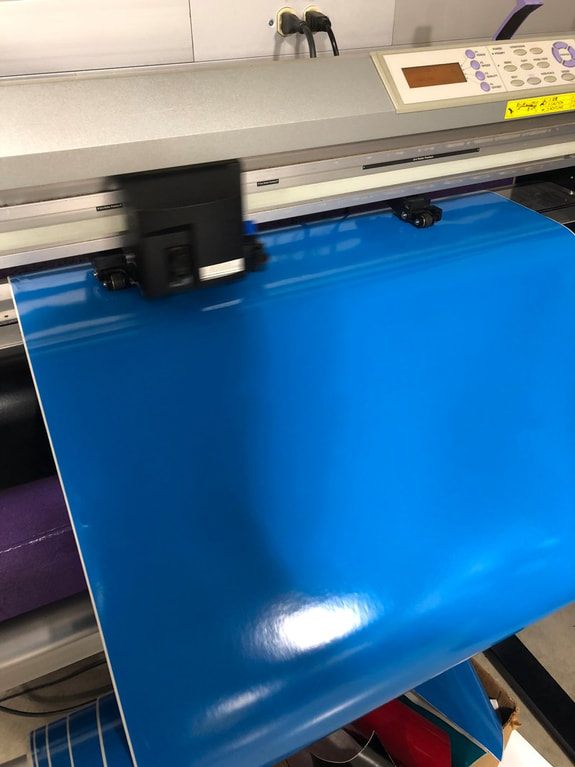
When I had the right color loaded I had to make sure the computer knew which design I wanted cut. I did this by simply selecting what I wanted cut and then sending it to the printer. Once I sent it then the cutter started cutting out my design. Here is a picture of my vinyl being cut.
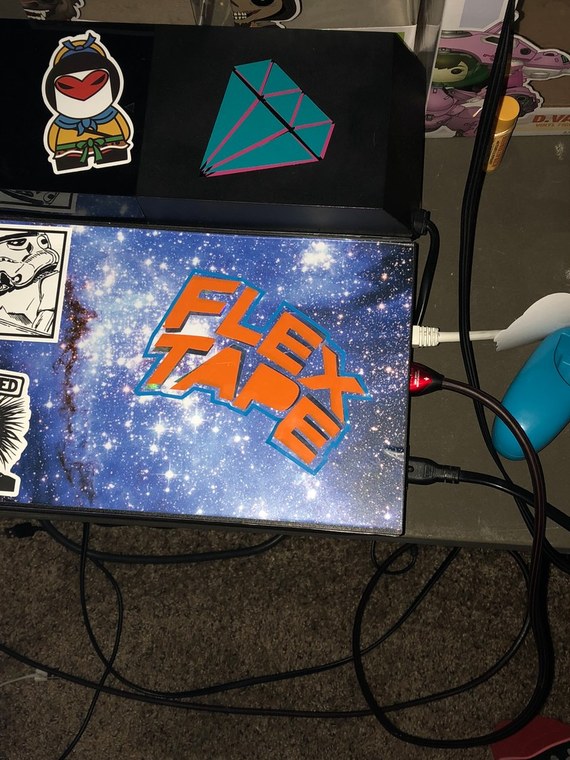
Then I had to take my vinyl and transfer it to wax paper using a plastic tool to move layer by layer. Once I had my vinyl transferred to the wax paper I was ready to put it on a new surface, I decided to put my vinyl on my play station. Here is a picture of my finished vinyl.