Illustrator
Illustrator is an adobe program that allows people to use lines To create vector images, vector images are special because they stay the same quality no matter how large or small you change an object. Its important that illustrator uses vector images instead of something like raster images because a raster images quality dips when the size changes.
Using illustrator and the laser/vinyl cutter in Idea has taught me many things. While I already knew a lot of different techniques in idea I was able to extend my knowledge by doing these two projects. And now that I know how to use the laser that opens up many different opportunities to different things on different materials like wood and plastic. Also with my new knowledge on the vinyl cutter I am able to make a lot of my ideas/art I have made in the past into stickers.
Using illustrator and the laser/vinyl cutter in Idea has taught me many things. While I already knew a lot of different techniques in idea I was able to extend my knowledge by doing these two projects. And now that I know how to use the laser that opens up many different opportunities to different things on different materials like wood and plastic. Also with my new knowledge on the vinyl cutter I am able to make a lot of my ideas/art I have made in the past into stickers.
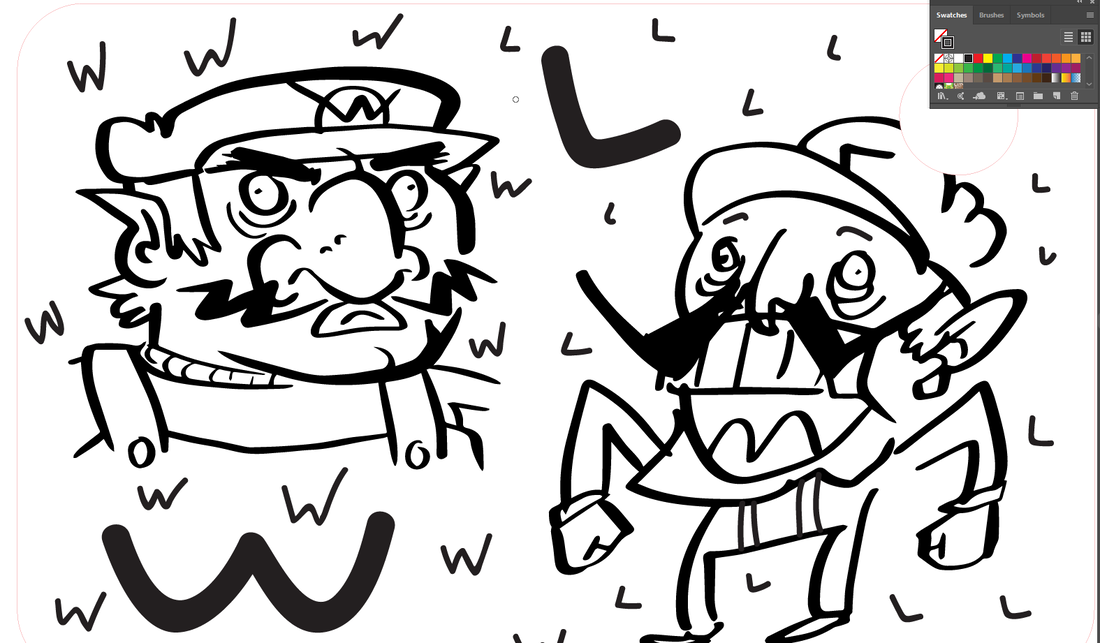
These illustrator projects are what I am going to make in the laser.
|

|
Using the laser is actually very easy, here are the steps to using the laser.
Step 1. Creating an image in illustrator, the way the laser works is that it cuts red lines, but only scrapes the surface if the line is black. You can see in my project the thin red line that will be cut out.

Step 2. You need to pick the correct materials so the laser knows what its cutting. Make sure to go into the preferences menu and pick the correct material and how thick it is.
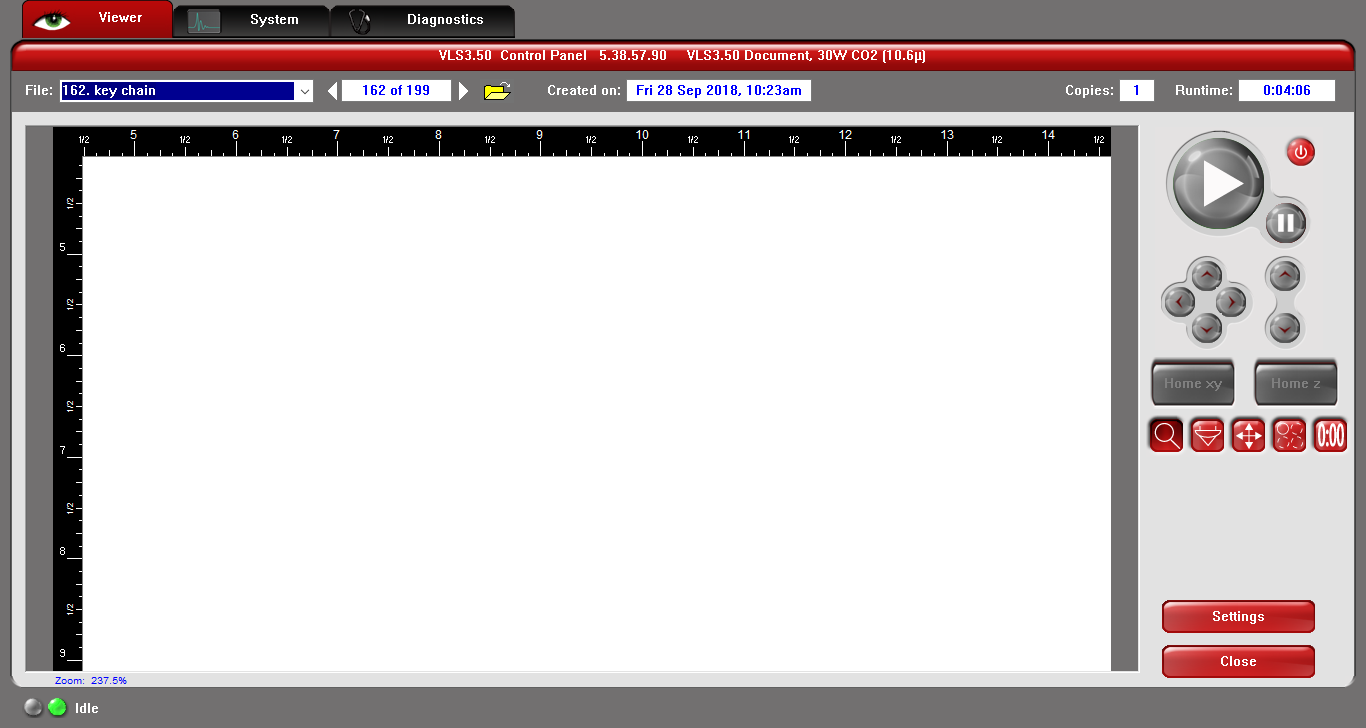
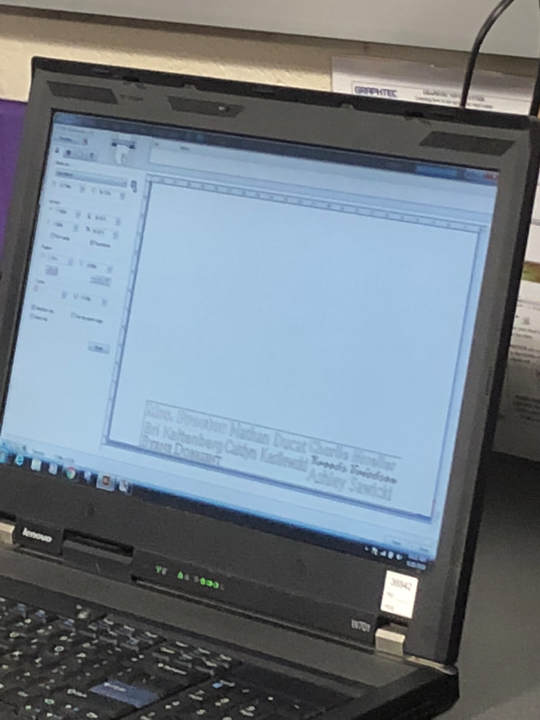
Step 3. Then we put our new illustrator file into the printer software, this is where I set up the laser and am able to move the laser and place it where I want it to start on my project. Here is a picture of the software screen and some of the different setting I can choose from when using the laser.
Step 4. Next you just let the laser do its thing and stand back and watch, it is important to keep a close eye on the laser however because you do not want to start a fire. Here is a picture of laser working.
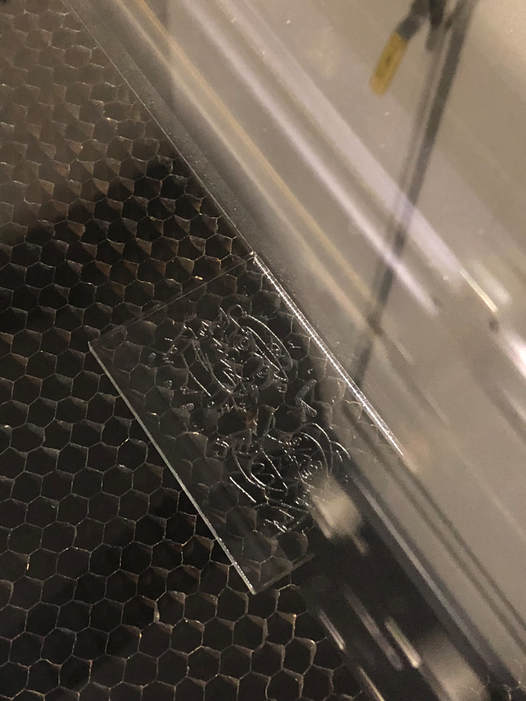
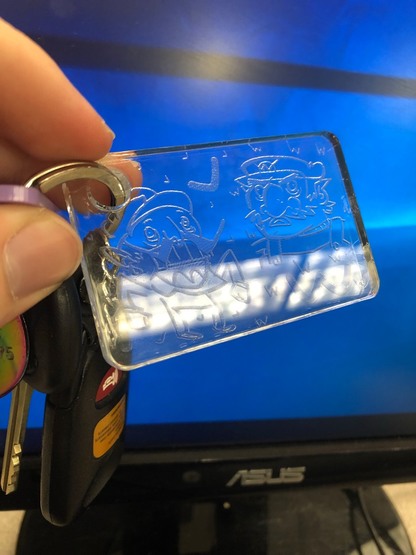
Here is the finished key chain.
Next I will be working on a vinyl sticker for my designer notebook.
Here is a step by step on how to use the vinyl cutter.
Here is a step by step on how to use the vinyl cutter.
Step 1. First start by creating a text box in illustrator and write whatever you want, for me I did my name. Make sure you have the right measurements so that it fits on your size of vinyl. Here is a picture of me setting up the illustrator file.
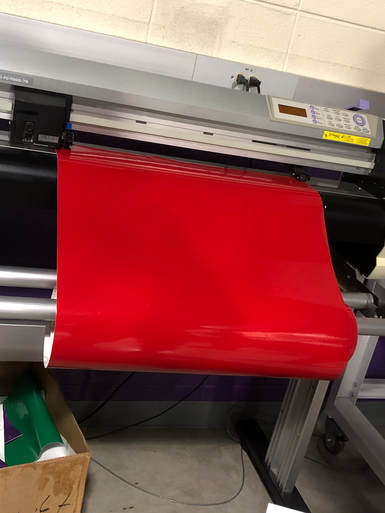
Step 2. This is the printing part, you are going to need to make sure that the printer is loaded, your dimensions are correct, and that you have multiple colors if you are using more then one. Here is a picture of the printer loaded.
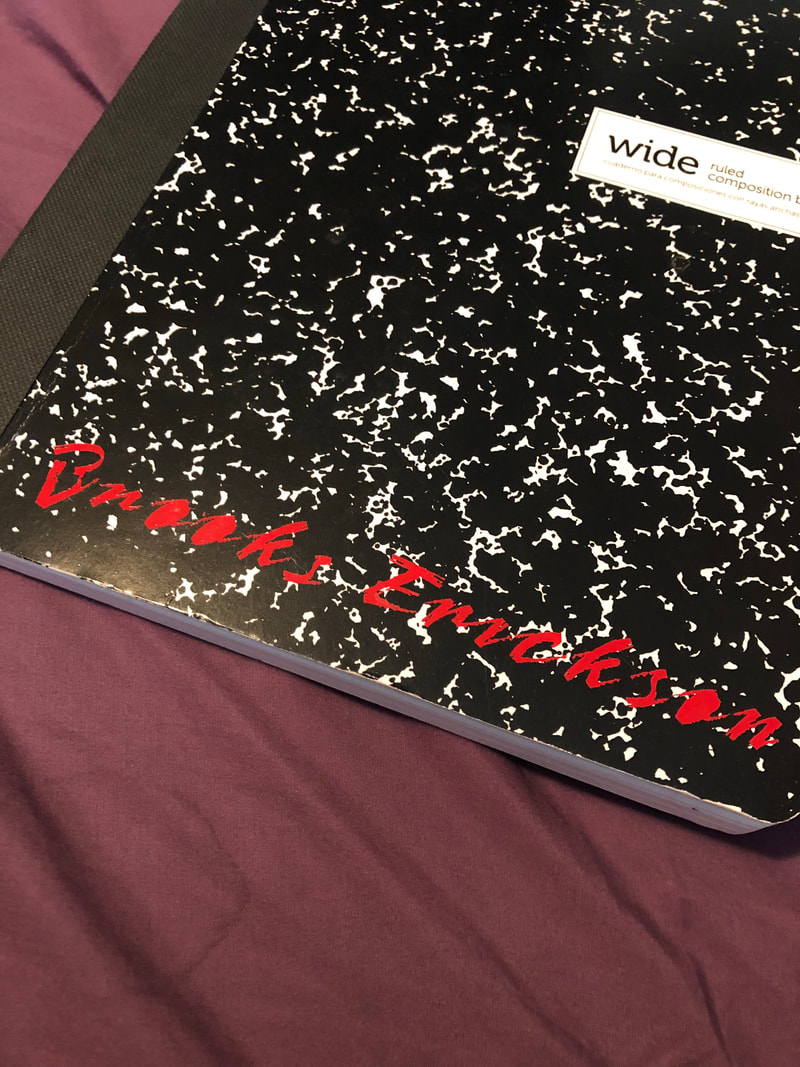
Step 3. Now that our vinyl is printed out, we need to translate it onto wax paper which will make it much easier to put onto a notebook. We placed the wax paper on the notebook and then used a piece of plastic to put the vinyl
Step 4. Here is the finished vinyl on my designer notebook.